


How to DIY Manicure & Pedicure at Home Using Natural Ingredients

Going to the nail salon for a mani-pedi is a relaxing treat, but let’s face it – the price can add up and sometimes our schedules get too hectic that we don’t have time to make a visit. Taking care of your hands and feet at home is much easier than you think! Using natural materials from your kitchen, you can attain salon-quality results while remaining environmentally responsible and chemical-free. So we’ve put together a step-by-step guide for the perfect mani-pedi from the comfort of your couch!
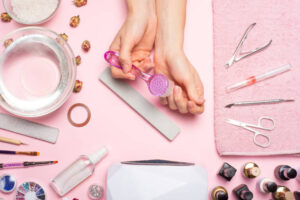
You Will Need
Before you start, acquire these natural essentials:
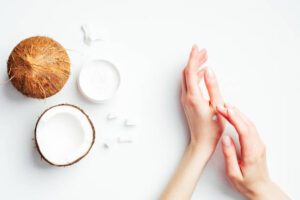
1. Coconut or olive oil
2. Lemon Juice
3.Baking soda
4.Honey
5.Sugar or salt (to scrub)
6.Warm water
7.basin, and fluffy towel
8. Nail clippers and nail file
9.Buffing block (optional)
Step-by-Step DIY Manicure
1. Prep Your Nails
1. Remove Old Polish: If you’re wearing any nail polish, soak a cotton pad with lemon juice or use a natural remover to wipe off the polish gently. Allow your nails to air dry for one minute.
2. Trim and Shape: Using nail clippers, trim your nails to the desired length. Then use a nail file to shape them. File in a single direction to avoid splitting.
2. Soak and Soften
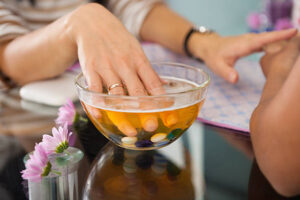
1. Fill a medium-sized dish with warm water deep enough to soak your fingertips comfortably.
2. Add 2 tablespoons lemon juice for natural cleaning and a teaspoon honey for hydration.
3. Soak your hands for 5-7 minutes to soften the skin and cuticles.
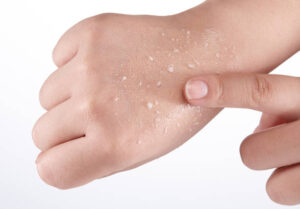
3. Exfoliate and Nourish
1. In a small bowl, combine a teaspoon of sugar or salt and one tablespoon of coconut oil. Stir until you have a gritty paste.
2. Apply the scrub to your hands and gently massage them in circular motions for around 2 minutes, concentrating on any dry or rough areas.
3. Wash your hands in warm water and wipe them with a clean towel.
4. Cuticle Care
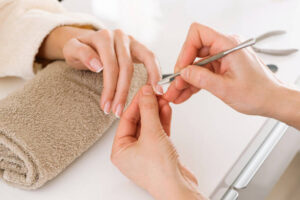
1. After soaking, gently press back your cuticles with a soft towel or fingertips. To avoid damage, don’t use sharp tools.
2. Rub a few drops of coconut or olive oil into your cuticles. Allow it to absorb additional nutrients.
5. Buff and Shine
1. Using a buffing block or soft cloth, gently buff the surface of each nail. This will level out any ridges and improve the natural sheen.
2. Avoid over-buffing because it can weaken the nail.
Step-by-Step DIY Pedicure
1. Prepare Your Feet
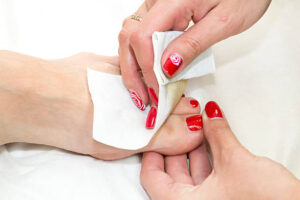
1. Remove any previous nail polish by soaking a cotton pad in lemon juice and rubbing it on your toes. Allow a few minutes for the pad to settle on the nail before wiping away any stubborn varnish.
2. Trim your toenails straight across to avoid ingrown nails. Use a file to smooth off the edges.
2. Soak and Soften
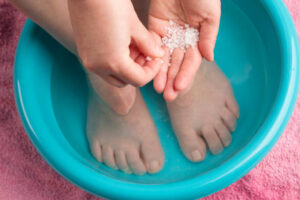
1. Fill a big basin or bathtub with warm water. Make sure it’s deep enough to cover your feet.
2. Add 3 tablespoons of baking soda for its exfoliating and deodorizing benefits, along with 2 tablespoons of lemon juice.
3. Soak your feet for 10–15 minutes. Relax and enjoy the relaxing experience.
3. Exfoliate and Smooth
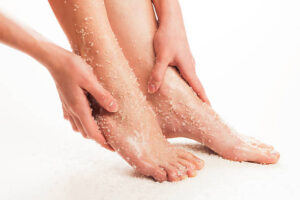
1. Make a foot scrub by combining 2 tablespoons of sugar or salt and 2 tablespoons of olive oil.
2. Massage the scrub onto your feet, especially in rough areas like your heels and the balls of your feet.
3. For tougher calluses, use a pumice stone or a foot file in gentle, circular motions to remove dead skin.
4. Rinse your feet completely and dry them with a towel.
4. Moisturize and Shine
1. Warm a small amount of coconut oil or a mixture of olive oil and honey in your hands.
2.Rub the oil into your feet, covering your heels, toes, and nails, for better moisture.
3.Use a buffing block to gently polish your toenails for a natural shine.
Tips for a Flawless Finish
1. Make a paste by mixing lemon juice and baking soda. Put it on your nails for 2 minutes to help whiten and lighten them naturally.
2.Keep coconut oil or olive oil nearby to moisturize your nails and face every day.
3.Gently push back your nails instead of cutting them to prevent infections.
DIY manicures and pedicures made with natural ingredients are not only less expensive but also healthier than chemical-laden products. With these precise methods, you’ll be ready to treat yourself organically. Share your results and tell us how it went!